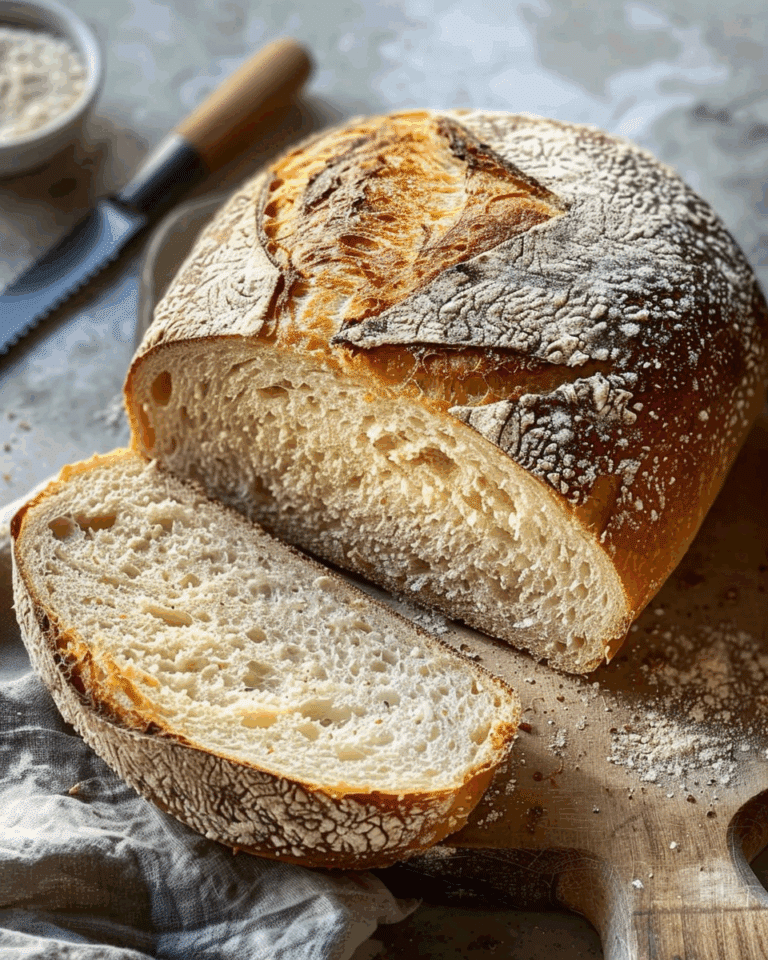
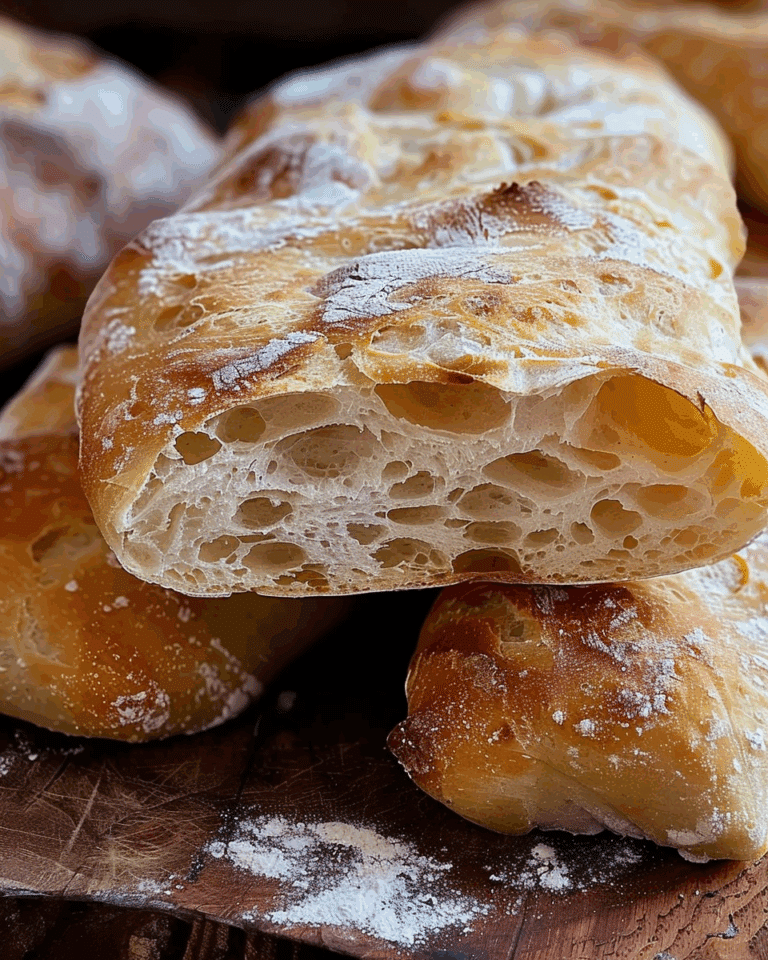
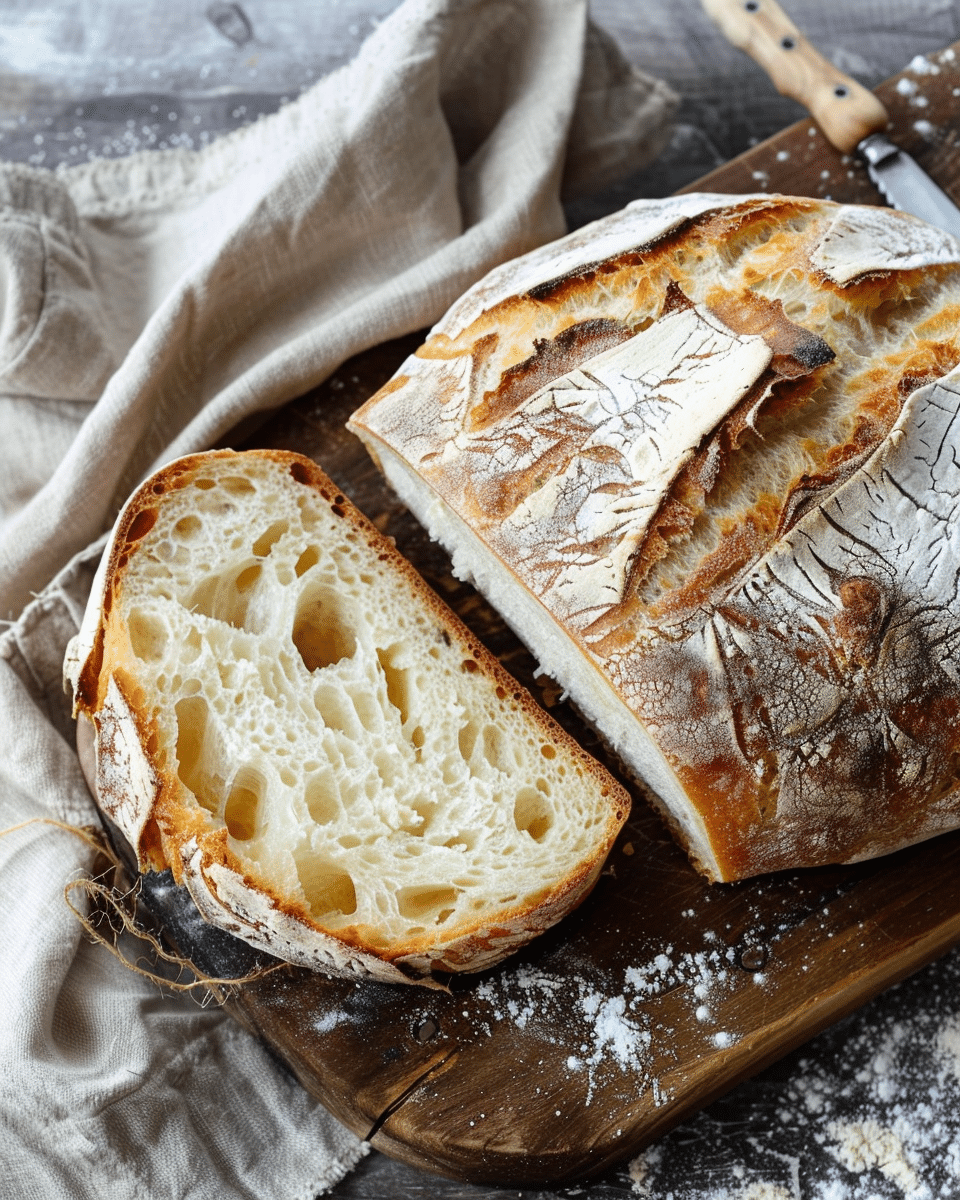
This simple and hearty rustic bread has a crispy, golden crust and soft, fluffy interior. With just a few ingredients and minimal hands-on time, you can enjoy homemade bread that’s perfect for any meal. No bread pan required!
Why You’ll Love This Recipe
-
Quick & Easy: With just a few hours of rising time and minimal effort, you’ll have fresh, homemade bread.
-
Crispy Crust: The addition of steam in the oven ensures a deliciously crispy crust.
-
No Bread Pan Needed: This rustic bread is shaped by hand and baked directly on a hot pizza stone or baking sheet.
-
Versatile: This bread goes well with any meal, from soups to stews or just with a smear of butter.
-
Homemade Goodness: The smell of fresh-baked bread in your kitchen is unbeatable!
Ingredients
-
3 cups warm water
-
2 ¼ teaspoons (1 package) active dry yeast
-
1 tablespoon sugar
-
6 cups (750 g) all-purpose flour
-
3 teaspoons salt
(Tip: You’ll find the full list of ingredients and measurements in the recipe card below.)
Directions
-
Activate the Yeast: In a large mixing bowl or stand mixer, combine warm water, yeast, and sugar. Let sit for about 10 minutes, until the mixture becomes bubbly and frothy.
-
Make the Dough: Add the flour and salt to the yeast mixture. Mix until combined into a soft dough. The dough should be slightly sticky but manageable. If it’s too sticky to handle, add ¼ cup of flour at a time until you can work with it.
-
First Rise: Cover the dough loosely with plastic wrap and a kitchen towel. Let it rise for 1-3 hours, or until doubled in size. If you’re short on time, a 30-60 minute rise will still yield good results, but the longer the rise, the better the flavor.
-
Preheat the Oven: Preheat your oven to 450°F (232°C). Place a pizza stone or a flipped-over baking sheet in the oven to heat up. Fill a baking dish with 2 inches of water and place it on the bottom rack to create steam, which will help develop the crispy crust.
-
Shape the Dough: Sprinkle flour on your counter and turn out the dough. Fold the dough onto itself, then divide it into two equal pieces. Shape each portion into a ball without overhandling it. If the dough is too sticky, add a little flour as needed.
-
Prepare for Baking: Using a sharp knife, cut an X shape on top of each dough ball. Place the shaped dough onto a lightly floured baking pan.
-
Bake: Carefully transfer the pan with the dough onto the preheated pizza stone or flipped baking sheet. Bake for 25-30 minutes, or until the bread is golden brown and sounds hollow when tapped on the bottom.
-
Cool: Let the bread cool for at least an hour before slicing to prevent it from deflating.
Servings and Timing
-
Servings: 2 loaves (about 8-10 slices per loaf)
-
Prep Time: 1 hour 30 minutes (including rising time)
-
Cook Time: 30 minutes
-
Total Time: 2 hours
Variations
-
Add Herbs: Incorporate rosemary, thyme, or oregano into the dough for an aromatic twist.
-
Cheese Lover’s Bread: Add shredded cheese (like cheddar or parmesan) into the dough for a cheesy surprise.
-
Olives or Garlic: Fold in chopped olives or roasted garlic for an added savory flavor.
-
Whole Wheat Option: Use a mix of whole wheat and all-purpose flour for a heartier loaf.
Storage/Reheating
-
Storage: Store leftover bread in a paper bag or a breadbox at room temperature for up to 3 days. For longer storage, keep it in an airtight container.
-
Freezing: Slice the bread and store in a freezer-safe bag for up to 1 month. Reheat by toasting or wrapping in foil and baking at 350°F (175°C) for 10-15 minutes.
-
Reheating: Reheat the whole loaf by wrapping it in foil and baking at 350°F for about 10-15 minutes. You can also toast individual slices for a quicker option.
FAQs
Can I use active dry yeast instead of instant yeast?
Yes, if using active dry yeast, you’ll need to activate it in the warm water with sugar before adding it to the dry ingredients. Let it sit for 5-10 minutes until bubbly before mixing.
What should I do if the dough is too sticky?
If the dough is too sticky to handle, sprinkle a little extra flour, but be careful not to add too much or it may make the bread dense.
How do I know when the bread is done?
The bread is done when it’s golden brown on top and sounds hollow when tapped on the bottom. You can also use an instant-read thermometer; it should read 190°F (88°C) inside.
Can I bake this bread without a pizza stone?
Yes, you can bake the bread directly on a baking sheet if you don’t have a pizza stone. Just preheat the sheet in the oven for a crispy bottom.
Conclusion
This rustic bread is a great way to bring homemade goodness to your table with minimal effort. The combination of a golden crust and soft, airy interior makes it perfect for any meal, and it’s sure to become a favorite in your kitchen. Enjoy it warm with butter or alongside your favorite soup or stew!
Print
Easiest Rustic Bread
5 Stars 4 Stars 3 Stars 2 Stars 1 Star
No reviews
- Author: Olivia
- Total Time: 2 hours
- Yield: 2 loaves (8-10 slices per loaf)
Description
This simple and hearty rustic bread has a crispy, golden crust and soft, fluffy interior. With just a few ingredients and minimal hands-on time, you can enjoy homemade bread that’s perfect for any meal. No bread pan required!
Ingredients
3 cups warm water
2 ¼ teaspoons (1 package) active dry yeast
1 tablespoon sugar
6 cups (750 g) all-purpose flour
3 teaspoons salt
Instructions
- In a large mixing bowl or stand mixer, combine warm water, yeast, and sugar. Let sit for about 10 minutes, until the mixture becomes bubbly and frothy.
- Add the flour and salt to the yeast mixture. Mix until combined into a soft dough. The dough should be slightly sticky but manageable. If it’s too sticky to handle, add ¼ cup of flour at a time until you can work with it.
- Cover the dough loosely with plastic wrap and a kitchen towel. Let it rise for 1-3 hours, or until doubled in size. If you’re short on time, a 30-60 minute rise will still yield good results, but the longer the rise, the better the flavor.
- Preheat your oven to 450°F (232°C). Place a pizza stone or a flipped-over baking sheet in the oven to heat up. Fill a baking dish with 2 inches of water and place it on the bottom rack to create steam, which will help develop the crispy crust.
- Sprinkle flour on your counter and turn out the dough. Fold the dough onto itself, then divide it into two equal pieces. Shape each portion into a ball without overhandling it. If the dough is too sticky, add a little flour as needed.
- Using a sharp knife, cut an X shape on top of each dough ball. Place the shaped dough onto a lightly floured baking pan.
- Carefully transfer the pan with the dough onto the preheated pizza stone or flipped baking sheet. Bake for 25-30 minutes, or until the bread is golden brown and sounds hollow when tapped on the bottom.
- Let the bread cool for at least an hour before slicing to prevent it from deflating.
Notes
- Add Herbs: Incorporate rosemary, thyme, or oregano into the dough for an aromatic twist.
- Cheese Lover’s Bread: Add shredded cheese (like cheddar or parmesan) into the dough for a cheesy surprise.
- Olives or Garlic: Fold in chopped olives or roasted garlic for an added savory flavor.
- Whole Wheat Option: Use a mix of whole wheat and all-purpose flour for a heartier loaf.
- Prep Time: 1 hour 30 minutes (including rising time)
- Cook Time: 30 minutes
- Category: Bread
- Method: Baking
- Cuisine: German
Nutrition
- Serving Size: 1 slice
- Calories: 160
- Sugar: 1g
- Sodium: 330mg
- Fat: 2g
- Saturated Fat: 0g
- Unsaturated Fat: 2g
- Trans Fat: 0g
- Carbohydrates: 31g
- Fiber: 1g
- Protein: 5g
- Cholesterol: 0mg

