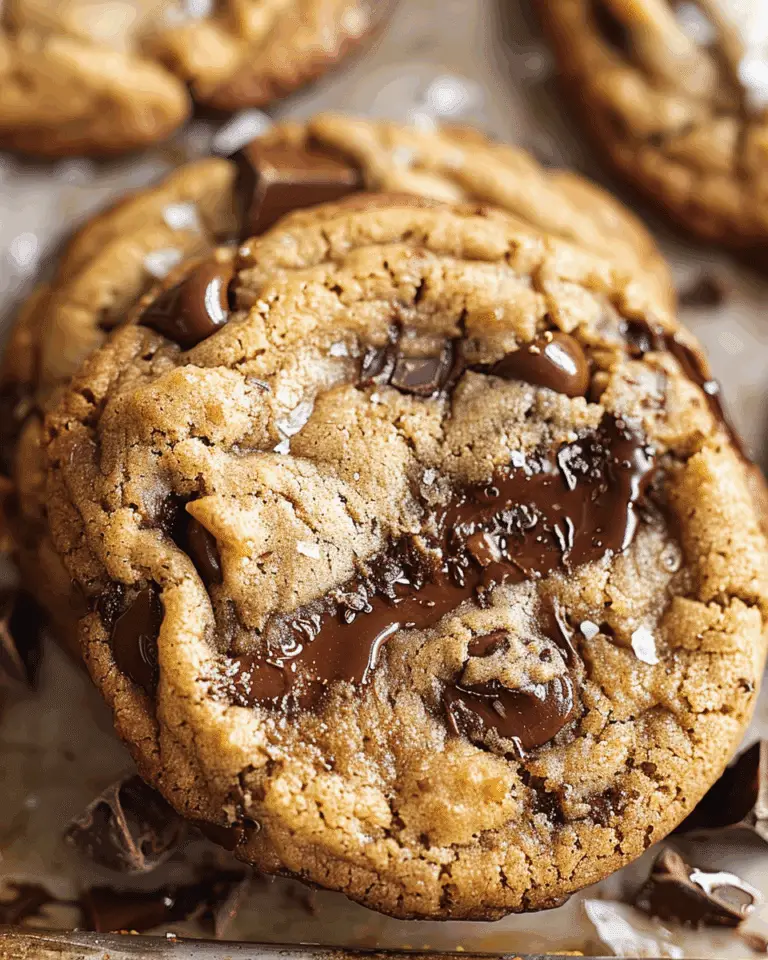
If you have ever dreamed of making your own chocolate at home, this Milk Chocolate: Irresistibly Creamy & Easy to Make Recipe is exactly what you need. Imagine a rich, silky chocolate that melts in your mouth with a perfect balance of creamy milkiness and cocoa depth, all crafted with just four simple ingredients. Whether you’re a seasoned chocolate lover or a curious kitchen explorer, this recipe makes creating indulgent, smooth milk chocolate not only possible but truly enjoyable. It’s perfect for treating yourself, sharing with loved ones, or adding a personal touch to your baking adventures.
Ingredients You’ll Need
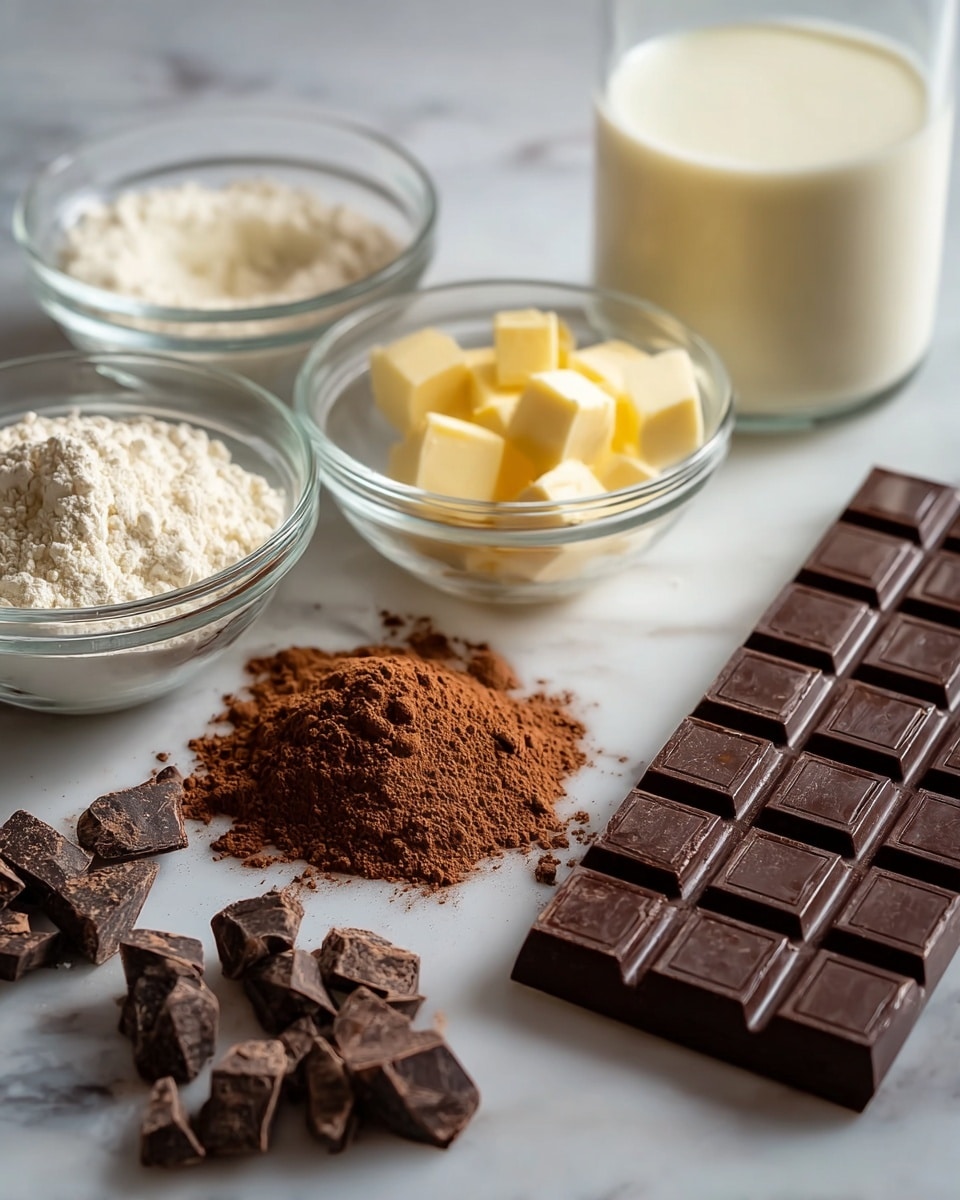
This recipe’s magic comes from its simplicity. Each ingredient plays a vital role, whether it’s contributing to the texture, flavor, or overall creaminess of your homemade milk chocolate. You’ll find that with just a handful of pantry staples, you’re on your way to something spectacular.
- Cocoa butter or coconut oil: Use 110g of cocoa butter for authentic silky texture or coconut oil for a slightly different but equally smooth finish.
- Whole milk powder: 24g is essential to give that creamy richness typical of milk chocolate, without any extra liquid.
- Cocoa powder: 35g of sifted cocoa powder provides the deep chocolate flavor and that lovable dark color.
- Powdered sugar: 90g adds sweetness and smoothness, dissolving beautifully to create that melt-in-the-mouth sensation.
How to Make Milk Chocolate: Irresistibly Creamy & Easy to Make Recipe
Step 1: Sift the Cocoa Powder
Start by sifting the cocoa powder into a clean bowl. This simple step may seem minor but is absolutely key to preventing any lumps in your chocolate later on. Sifting ensures a smoother, creamier texture that feels luxurious on your tongue.
Step 2: Set Up Your Double Boiler
Fill a small pot about one-third full with water and bring to a gentle simmer over medium-high heat. Place a large heat-safe glass or metal bowl on top, making sure the base doesn’t touch the water. This indirect heat is the secret to melting your cocoa butter (or coconut oil) slowly and evenly without burning.
Step 3: Melt the Cocoa Butter or Coconut Oil
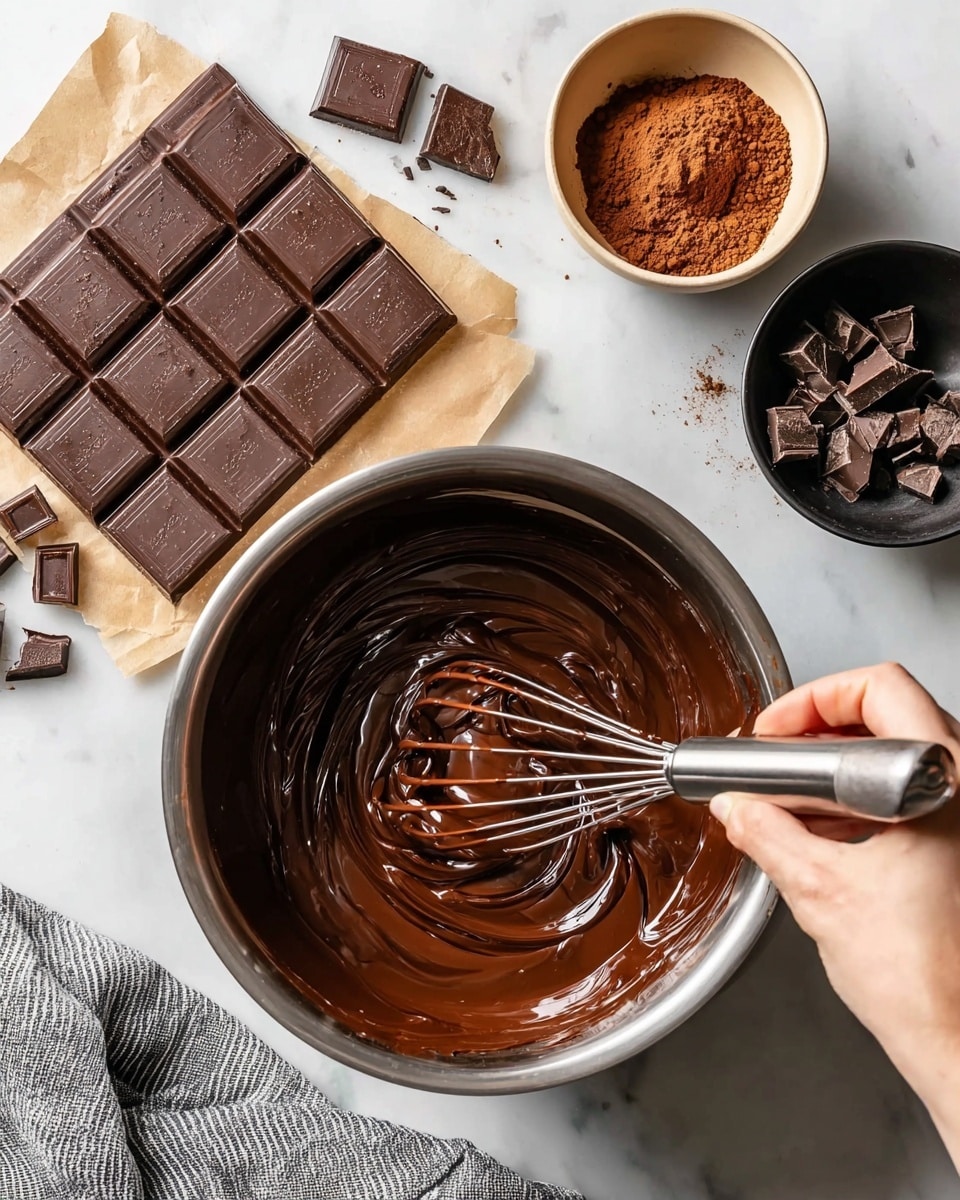
Add the cocoa butter or coconut oil to the bowl and stir gently as it melts. You’ll want a glossy, fully liquefied base, which forms the smooth backbone of your chocolate. Patience here really pays off—it makes all the difference.
Step 4: Incorporate the Cocoa and Milk Powders
Lower the heat to medium-low. Gradually whisk in the sifted cocoa powder until no streaks remain. Then, add the whole milk powder, stirring until the mixture is uniform. This stage blends the rich chocolate notes with creamy milkiness that make milk chocolate so comforting.
Step 5: Sweeten with Powdered Sugar
Add the powdered sugar in three parts, stirring well after each addition. This slow integration ensures your sugar dissolves fully, preventing graininess and creating a smooth, sweet flavor. If you prefer a less sweet treat, feel free to reduce the sugar or even skip it for a natural, sugar-free option.
Step 6: Cool and Stir
Turn off the heat but keep stirring gently for about five minutes. This cooling process helps reduce grainy textures and encourages the chocolate to come together beautifully. Then, move the bowl to a cool surface and continue stirring for another five minutes for perfect consistency.
Step 7: Pour and Set
Pour your luscious mixture into molds of your choice — whether classic bar molds or handy ice cube trays. Let the chocolate sit at room temperature for 30 minutes before transferring the molds to the fridge for another 30 minutes to fully set. Once hardened, you’re ready to savor your creation!
How to Serve Milk Chocolate: Irresistibly Creamy & Easy to Make Recipe
Garnishes
Elevate your homemade milk chocolate by adding garnishes like crushed nuts, dried fruits, or a sprinkle of sea salt before it sets. These little touches add delightful textures and flavor contrasts that make every bite more exciting and personal.
Side Dishes
Enjoy your milk chocolate alongside fresh berries, whipped cream, or a warm cup of coffee or tea. The creamy, sweet chocolate pairs wonderfully with these fresh and robust flavors, making your tasting experience rich and memorable.
Creative Ways to Present
Try chopping the solid milk chocolate into chunks and adding it to your favorite cookie, brownie, or ice cream recipes. You can also gift your homemade bars wrapped in colorful parchment and tied with twine for a heartfelt, delicious present that anyone would love.
Make Ahead and Storage
Storing Leftovers
Keep any extra milk chocolate stored in an airtight container in a cool, dry place. Proper storage preserves its creamy texture and keeps it fresh for up to two weeks. Avoid warm or humid spots to prevent melting or blooming.
Freezing
If you want to keep your milk chocolate longer, freeze it in an airtight container for up to three months. When ready to enjoy, thaw it gently in the fridge overnight to maintain its excellent texture and flavor.
Reheating
Generally, reheating milk chocolate is unnecessary, but if you want to use it melted, warm it gently using a double boiler again. Avoid direct heat to prevent scorching or changing the smooth texture you worked hard to achieve.
FAQs
Can I substitute coconut oil for cocoa butter?
Yes! Coconut oil can be used as a substitute, but keep in mind it may slightly alter the flavor and texture. Cocoa butter gives a more authentic milk chocolate consistency, while coconut oil will produce a softer, slightly different mouthfeel.
Is it possible to make this recipe sugar-free?
Absolutely! Simply omit the powdered sugar or use a sugar substitute that dissolves well. The whole milk powder and cocoa butter will still provide a creamy, satisfying chocolate base.
Why is sifting the cocoa powder important?
Sifting removes lumps, ensuring a smooth blend with other ingredients. Skipping this step could result in grainy texture or uneven mixing, which affects the overall creaminess of your chocolate.
Can I use skim milk powder instead of whole milk powder?
Whole milk powder is preferred because it adds fat and creaminess essential to the texture and taste. Skim milk powder lacks this richness and may produce a less creamy result.
How long does it take for the chocolate to set?
It typically takes around 30 minutes at room temperature, followed by another 30 minutes in the fridge. Total time is about one hour, but chilling times may vary depending on your fridge temperature and mold size.
Final Thoughts
Making your own Milk Chocolate: Irresistibly Creamy & Easy to Make Recipe at home is such a rewarding experience. It’s incredible how just a few simple ingredients can come together into a treat that feels so luxurious and personal. Whether you’re delighting friends, enjoying a moment of self-indulgence, or experimenting in the kitchen, this recipe invites you to celebrate the joy of homemade chocolate. Give it a try—you might never look at chocolate the same way again!
Print
Milk Chocolate: Irresistibly Creamy & Easy to Make Recipe
- Total Time: 1 hour 30 minutes
- Yield: Approximately 8 standard chocolate bars (about 200g total chocolate)
Description
This easy-to-make milk chocolate recipe uses just four simple ingredients to create a smooth, creamy, and irresistibly rich chocolate treat. Perfect for snacking, gifting, or using in baking, it combines the natural richness of cocoa butter with the sweetness of powdered sugar and the creaminess of whole milk powder. Made with a gentle double boiler melting method, this homemade milk chocolate is a delightful alternative to store-bought bars.
Ingredients
Chocolate Base
- 1/2 cup cocoa butter or coconut oil (110g)
- 1/3 cup cocoa powder (35g)
Dairy & Sweeteners
- 3 Tbsp. whole milk powder (24g)
- 3/4 cup powdered sugar (90g)
Instructions
- Sift Cocoa Powder: Begin by sifting the cocoa powder into a clean bowl to remove any lumps, ensuring a smooth and even chocolate base.
- Set Up Double Boiler: Fill a small pot about one-third full with water and heat over medium-high. Place a heat-safe glass or metal bowl on top, making sure the bowl’s bottom doesn’t contact the water.
- Melt Cocoa Butter: Add the cocoa butter or coconut oil to the bowl, stirring occasionally as it melts slowly until fully liquefied and glossy.
- Add Cocoa Powder and Milk Powder: Lower heat to medium-low. Whisk the sifted cocoa powder into the melted cocoa butter until fully combined. Then stir in the whole milk powder to create a smooth, uniform mixture.
- Incorporate Powdered Sugar: Gradually add powdered sugar in thirds, stirring well between each addition for even blending. Adjust sugar quantity to taste or omit for sugar-free.
- Cool and Stir: Turn off the heat. Continue stirring gently for about 5 minutes to cool the mixture evenly and reduce graininess.
- Further Stirring Off Heat: Remove the bowl from the pot. Stir for an additional 5 minutes on a heat-safe surface to enhance texture and prevent separation.
- Pour and Set: Pour the chocolate mixture into molds or ice cube trays. Let it sit at room temperature for approximately 30 minutes.
- Chill: Transfer molds to the refrigerator and chill for another 30 minutes until the chocolate is firm and fully set.
- Enjoy: Remove the chocolate from molds carefully and savor your homemade creamy milk chocolate. Note the rustic texture and rich flavor distinct from commercial chocolates.
Notes
- For a less sweet version, reduce or omit powdered sugar.
- Coconut oil can be used as a dairy-free alternative to cocoa butter but may slightly alter flavor.
- Stirring during cooling helps minimize graininess and encourages a smooth texture.
- Use silicone molds or ice cube trays for easy removal of chocolate bars.
- This chocolate has a more rustic texture compared to store-bought, with potential slight graininess but rich homemade taste.
- Prep Time: 15 minutes
- Cook Time: 15 minutes
- Category: Dessert
- Method: Baking
- Cuisine: International

