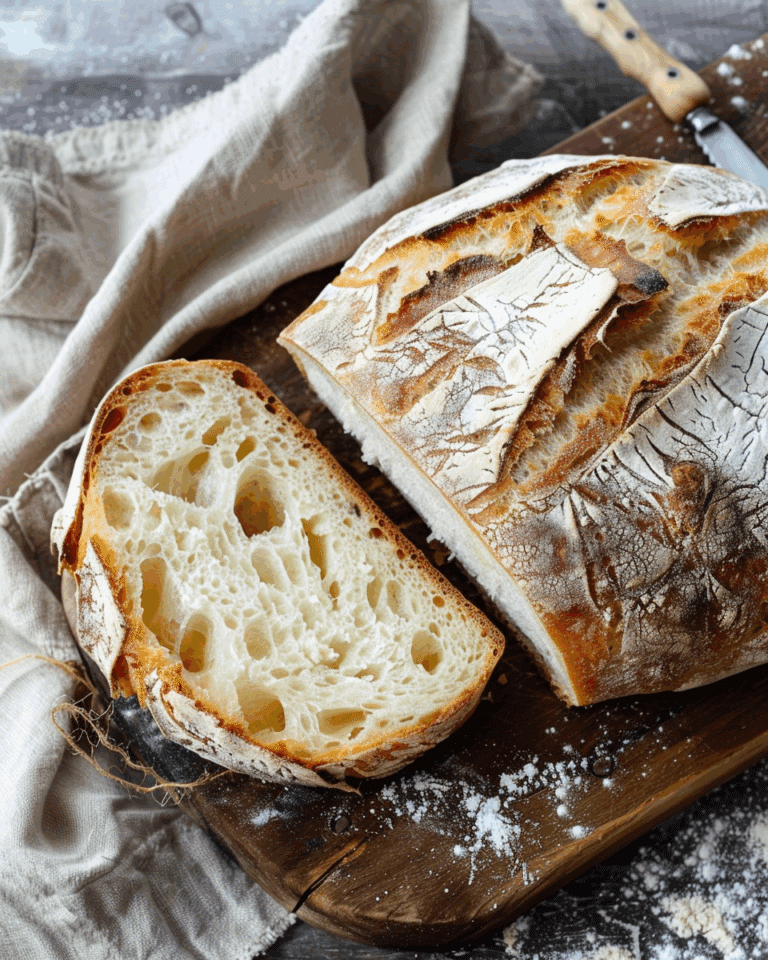
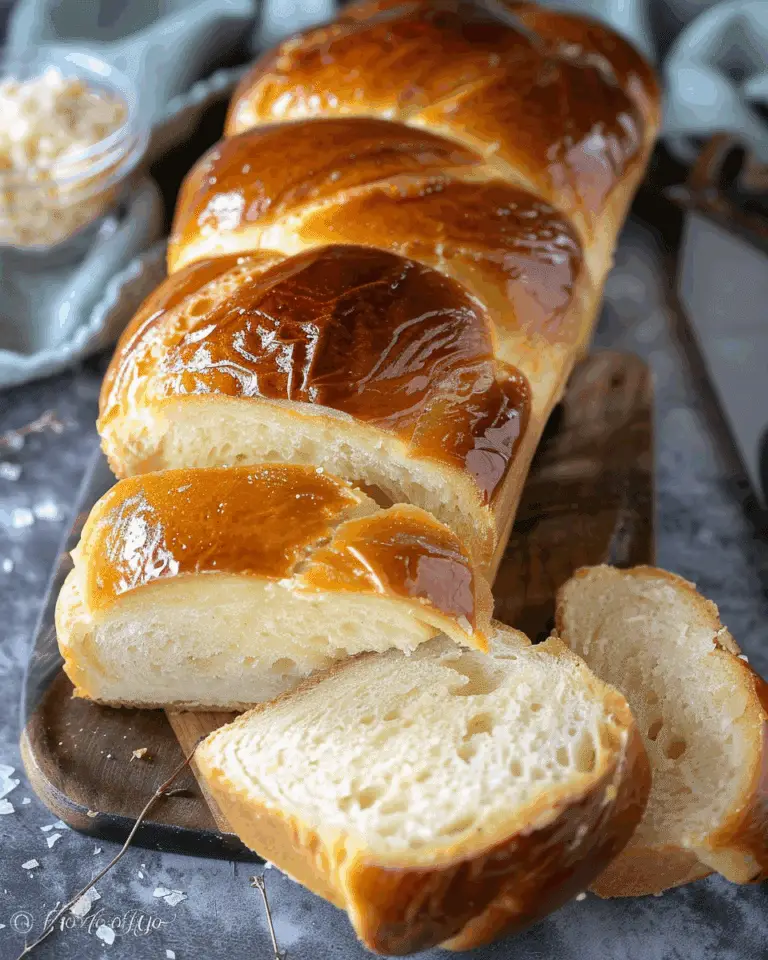
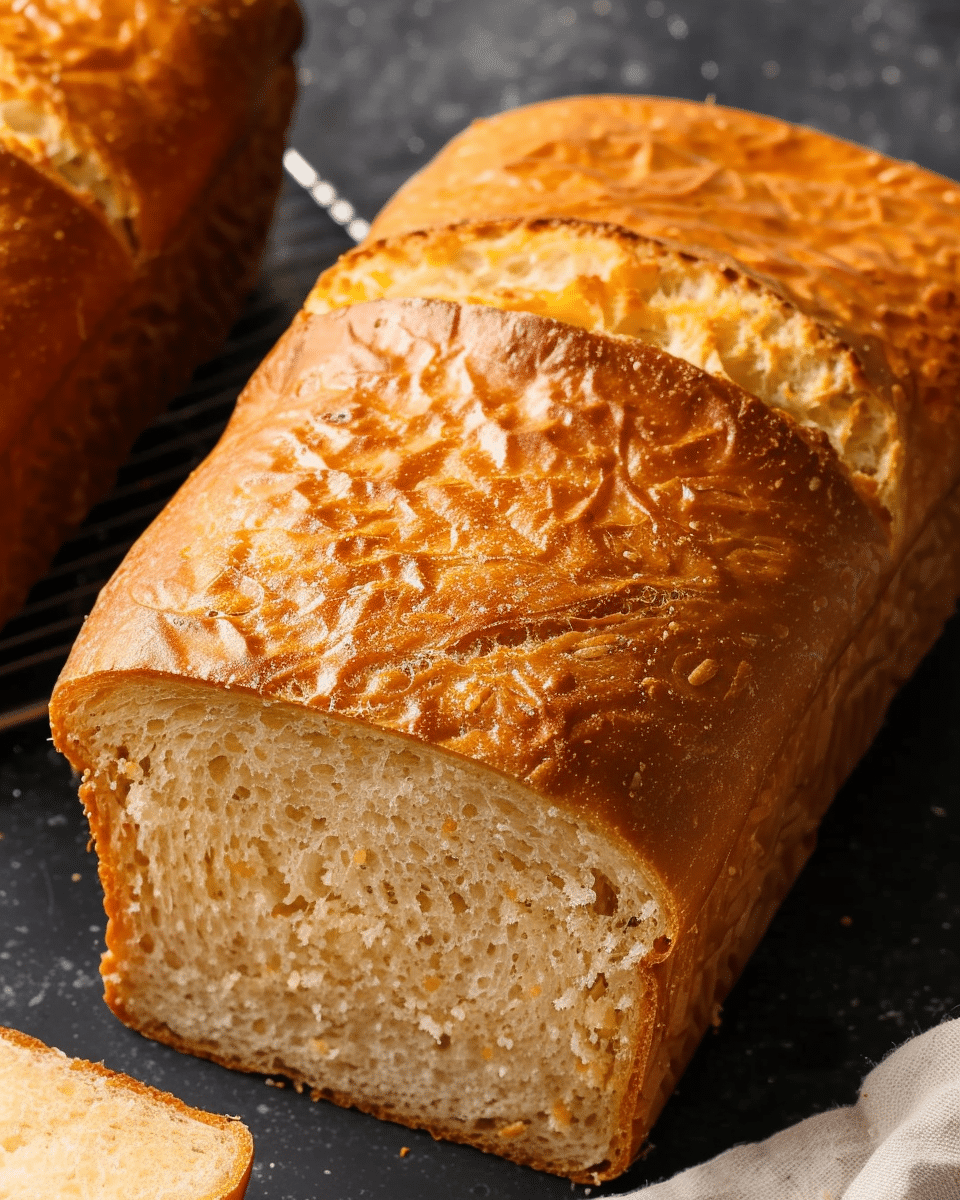
This soft sandwich bread recipe creates two golden loaves of fluffy, homemade bread that will elevate any meal. Perfect for making sandwiches or enjoying with a spread of butter, this bread is sure to become a staple in your kitchen.
Why You’ll Love This Recipe
-
Soft and Fluffy: This bread has a wonderfully soft texture that makes it perfect for sandwiches or just enjoying on its own.
-
Simple Ingredients: With common pantry items, you can easily make this bread at home.
-
Perfectly Golden Loaves: The two loaves bake to a beautiful golden brown, ready to be sliced and enjoyed.
-
Versatile: Whether for sandwiches, toasting, or dipping, this bread is a perfect fit for every meal.
-
Quick and Easy: While it takes time to rise, the hands-on effort is minimal, and the results are well worth it.
Ingredients
For the Dough:
-
6½ cups bread flour
-
2 cups lukewarm water (may substitute with 1 cup of milk and 1 cup of water)
-
4 tablespoons unsalted butter (softened)
-
2 tablespoons honey
-
3 teaspoons instant yeast
-
3 teaspoons sea salt
-
1 tablespoon unsalted butter (for brushing on the bread)
-
1 tablespoon unsalted butter (for greasing the loaf tins)
Directions
-
Mix the Dry Ingredients: In a stand mixer bowl, combine the bread flour, instant yeast, and sea salt.
-
Add Wet Ingredients: While the mixer is running, slowly add in the lukewarm water, butter, and honey. Mix on low speed for 5-7 minutes, or until the dough is smooth and combined. The dough should be slightly tacky but not sticky.
-
First Rise: Remove the dough from the bowl and shape it into a ball. Lightly oil the bowl and dough to prevent sticking. Cover the bowl with plastic wrap and let the dough rise for 2 hours in a warm spot, or until it has doubled in size.
-
Prepare the Loaf Tins: Grease two 1lb loaf tins with the butter and set aside.
-
Shape the Dough: After the dough has risen, punch it down and transfer it to a clean surface (do not add flour). Divide the dough into two equal portions. Roll each portion into a rectangle the size of your loaf tins, then roll them up tightly and pinch the seams to seal.
-
Second Rise: Place each dough log seam side down in the prepared loaf tins. Let the dough rise, covered with plastic wrap, for 40 minutes to 1 hour, or until the dough has risen above the edges of the tins.
-
Bake the Bread: Preheat the oven to 350°F (176°C). Remove the plastic wrap and bake the bread for 40-42 minutes, or until the loaves are deeply golden brown.
-
Finish the Bread: Brush the tops of the loaves with butter while they are still hot, which will help keep the crust soft and add a finishing touch.
-
Cool and Serve: Let the bread cool in the tins for 10 minutes before transferring to a cooling rack. Slice once completely cooled for best results.
Servings and Timing
-
Servings: 15 slices
-
Prep Time: 20 minutes
-
Cook Time: 40 minutes
-
Rise Time: 3 hours
-
Total Time: 4 hours
Variations
-
Add-ins: Feel free to add herbs, cheese, or seeds to the dough for extra flavor.
-
Sweet Version: Add a bit of sugar or cinnamon for a slightly sweeter bread perfect for breakfast.
-
Whole Wheat Option: Replace part of the bread flour with whole wheat flour for a heartier version.
Storage/Reheating
-
Storage: Keep the bread in a tightly sealed container or breadbox at room temperature for up to 3 days.
-
Freezing: Slice the bread before freezing, and store in a freezer-safe bag for up to one month. Reheat in the oven or toaster.
-
Reheating: Reheat slices in a toaster or wrap the loaf in foil and warm in the oven at 350°F (176°C) for 10-15 minutes.
FAQs
Can I use active dry yeast instead of instant yeast?
Yes, if using active dry yeast, dissolve it in warm water with a teaspoon of sugar before adding it to the dry ingredients. Let it sit for about 5-10 minutes until it becomes foamy.
Can I make this bread without a stand mixer?
Yes, you can knead the dough by hand on a clean surface for about 10 minutes until it becomes smooth and elastic.
Can I add extra flavorings like garlic or rosemary?
Absolutely! You can mix in herbs or spices during the kneading process to customize the flavor of the bread.
Can I use non-dairy milk?
Yes, you can substitute the milk and water with a non-dairy milk like almond milk or oat milk.
How do I know when the bread is done?
The bread is done when it sounds hollow when tapped on the bottom or when it reaches an internal temperature of about 190°F (88°C).
Conclusion
This easy, soft sandwich bread recipe creates perfect loaves every time. With a golden crust and soft interior, it’s ideal for making sandwiches, toasts, or just enjoying with butter. Whether you’re a beginner baker or an experienced cook, this bread will be a delicious and reliable addition to your kitchen.
Print
Sandwich Bread
5 Stars 4 Stars 3 Stars 2 Stars 1 Star
No reviews
- Author: Olivia
- Total Time: 4 hours
- Yield: 2 loaves
Description
This soft sandwich bread recipe creates two golden loaves of fluffy, homemade bread that will elevate any meal. Perfect for making sandwiches or enjoying with a spread of butter, this bread is sure to become a staple in your kitchen.
Ingredients
6½ cups bread flour
2 cups lukewarm water (may substitute with 1 cup of milk and 1 cup of water)
4 tablespoons unsalted butter (softened)
2 tablespoons honey
3 teaspoons instant yeast
3 teaspoons sea salt
1 tablespoon unsalted butter (for brushing on the bread)
1 tablespoon unsalted butter (for greasing the loaf tins)
Instructions
- In a stand mixer bowl, combine the bread flour, instant yeast, and sea salt.
- While the mixer is running, slowly add in the lukewarm water, butter, and honey. Mix on low speed for 5-7 minutes, or until the dough is smooth and combined. The dough should be slightly tacky but not sticky.
- Remove the dough from the bowl and shape it into a ball. Lightly oil the bowl and dough to prevent sticking. Cover the bowl with plastic wrap and let the dough rise for 2 hours in a warm spot, or until it has doubled in size.
- Grease two 1lb loaf tins with butter and set aside.
- Once the dough has risen, punch it down and transfer it to a clean surface (do not add flour). Divide the dough into two equal portions. Roll each portion into a rectangle the size of your loaf tins, then roll them up tightly and pinch the seams to seal.
- Place each dough log seam side down in the prepared loaf tins. Let the dough rise, covered with plastic wrap, for 40 minutes to 1 hour, or until the dough has risen above the edges of the tins.
- Preheat the oven to 350°F (176°C). Remove the plastic wrap and bake the bread for 40-42 minutes, or until the loaves are deeply golden brown.
- Brush the tops of the loaves with butter while they are still hot, which will help keep the crust soft and add a finishing touch.
- Let the bread cool in the tins for 10 minutes before transferring to a cooling rack. Slice once completely cooled for best results.
Notes
Add-ins: Feel free to add herbs, cheese, or seeds to the dough for extra flavor.
Sweet Version: Add a bit of sugar or cinnamon for a slightly sweeter bread perfect for breakfast.
Whole Wheat Option: Replace part of the bread flour with whole wheat flour for a heartier version.
- Prep Time: 25 minutes (plus rising time)
- Cook Time: 40 minutes
- Category: Bread
- Method: Baking
- Cuisine: American
Nutrition
- Serving Size: 1 slice
- Calories: 140
- Sugar: 3g
- Sodium: 200mg
- Fat: 4g
- Saturated Fat: 2g
- Unsaturated Fat: 2g
- Trans Fat: 0g
- Carbohydrates: 22g
- Fiber: 1g
- Protein: 4g
- Cholesterol: 10mg

